Note: SCIM configuration is only available after SAML SSO has been set up.
How SCIM Works in Superwhisper
Superwhisper uses just-in-time (JIT) provisioning. When you assign users in your identity provider, SCIM grants them permission to sign in via SSO, but their account and seat are not created until they first log in. This prevents users who never log in from claiming seats. The provisioning flow works as follows:- Admin assigns users to Superwhisper in the identity provider
- The identity provider sends SCIM requests to Superwhisper, granting SSO login permission
- When a user initiates their first SSO login, their account is created and a seat is allocated
- Deprovisioning a user in your identity provider removes them from your organization, deactivates their license, and frees up their seat
Email as Username Requirement
Your identity provider must use email as the unique identifier (userName) for all SCIM API calls. This is required for Superwhisper to correctly match and manage user identities across your organization.Setting Up SCIM
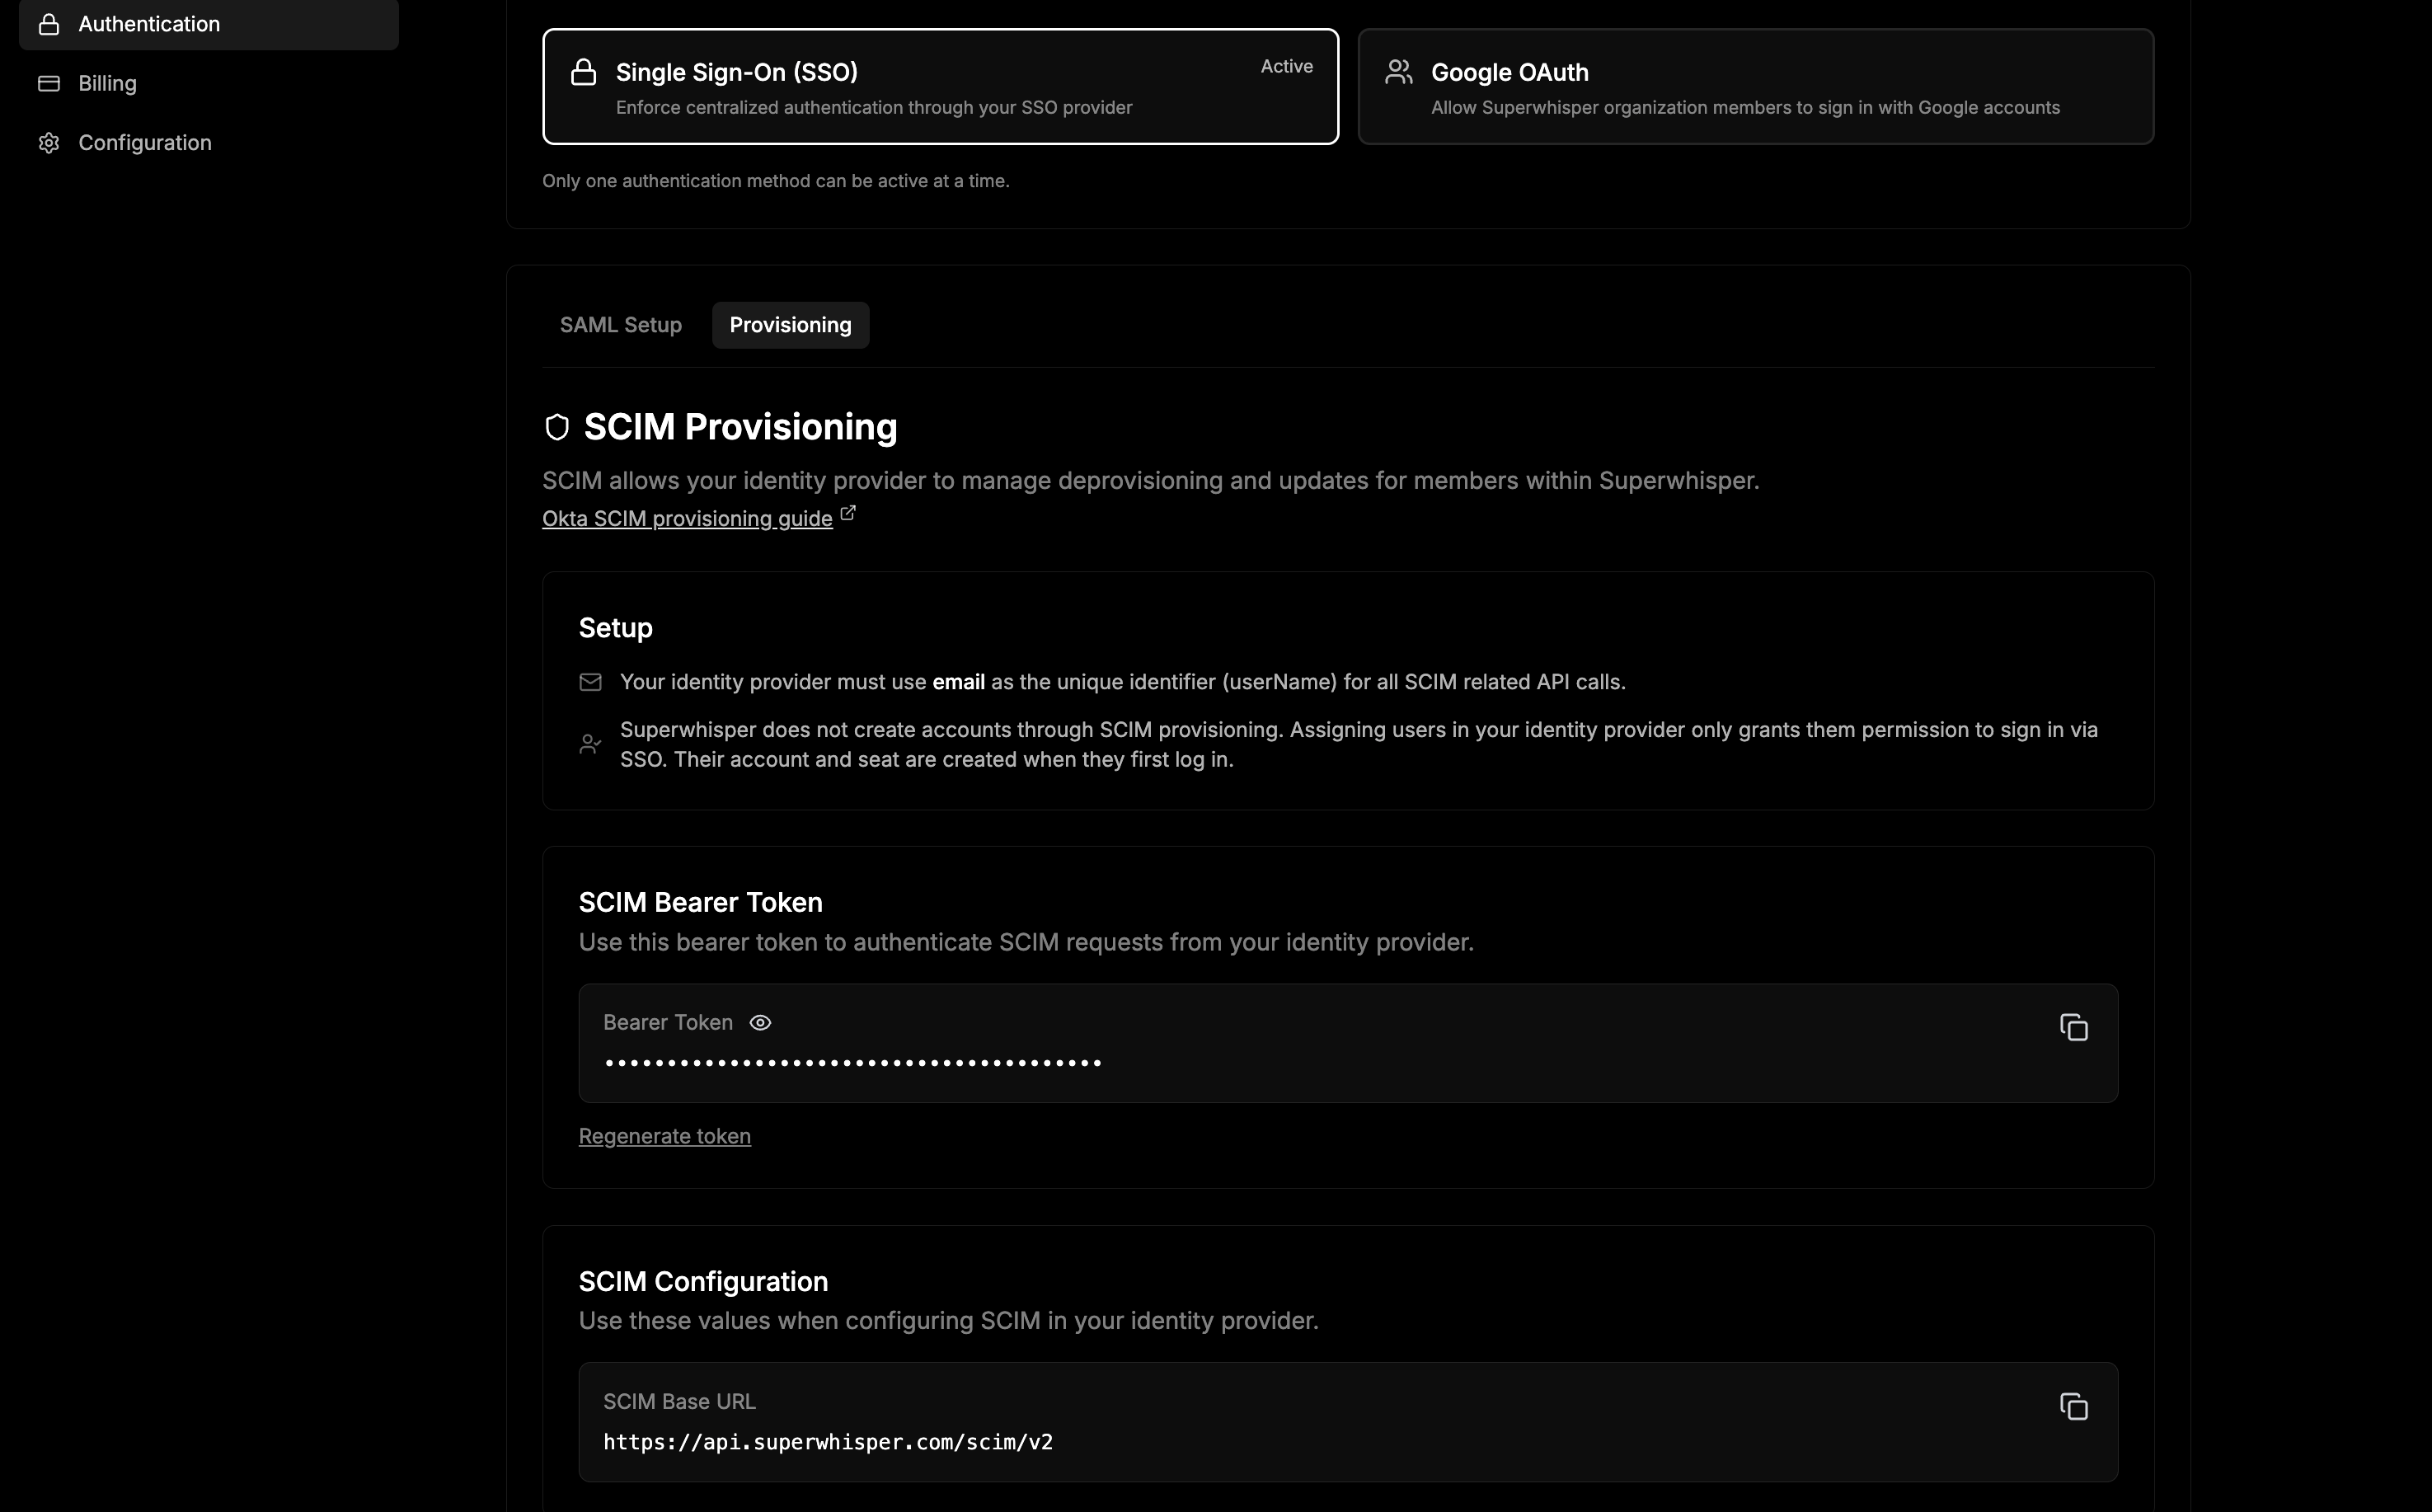
1. Generate a SCIM Bearer Token
Click Generate Token to create a bearer token for authenticating SCIM requests. Copy it now, you’ll need it when configuring your identity provider. Regenerating the token invalidates the previous one.2. Copy the SCIM Base URL
Your SCIM base URL will be displayed on the configuration page in the following format:3. Configure Your Identity Provider
Enter the SCIM base URL and bearer token into your identity provider’s provisioning settings. Refer to your provider’s SCIM guide for detailed instructions:- Okta SCIM provisioning guide
- Google Workspace automated provisioning guide
- Microsoft Entra SCIM provisioning guide